14 Best Star Wars Jedi: Survivor Tips And Tricks
Here’s a list of the best tips and tricks in your adventures as Cal Kestis in Star Wars Jedi: Survivor.
Respawn Entertainment‘s highly-anticipated sequel has finally arrived. While it is practically impossible to play due to its poor optimization, Jedi: Survivor offers a rewarding experience when it runs stable. And to further enrich this experience, you can follow our Star Wars Jedi: Survivor tips and tricks.
Before we dive in, do keep in mind that the game’s current optimization level is a bit better. At the time of writing, Star Wars Jedi: Survivor is definitely far from running stable on most PCs. Don’t worry though, because we’ve got you covered with this list of best RPGs to play on low-end computers.
What are the best tips for Star Wars Jedi: Survivor?
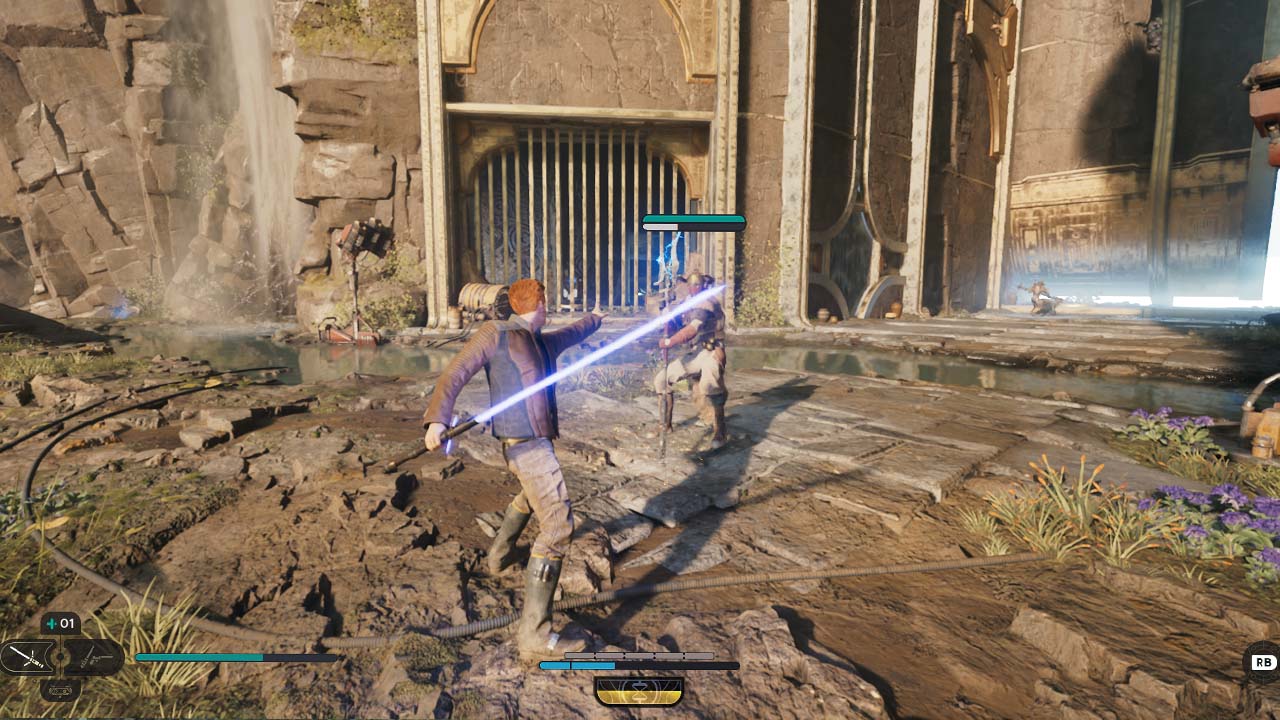
14. Wait for your enemy to attack
Like its predecessor, Star Wars Jedi: Survivor also features Souls-like combat elements. And waiting for your enemy to attack is Souls-like Combat 101. That’s why the rule applies to Jedi: Survivor as well.
Regardless of your enemy, it is always best to wait for them to attack first. With the exception of weaker enemies, hold onto your weapon until the Trooper or the Raider attacks you. Then you can dodge or parry to land a solid attack.
Otherwise, the enemies in Jedi: Survivor will punish you for randomly swinging your lightsaber.
13. Do not spend your Skill Points right away
Holding onto your Skill Points is a great Star Wars Jedi: Survivor tip. Because certain essential skills can require extra Skill Points, spending them right away can slow down your progress. That’s why it is crucial to save a few points to unlock a more effective skill later on.
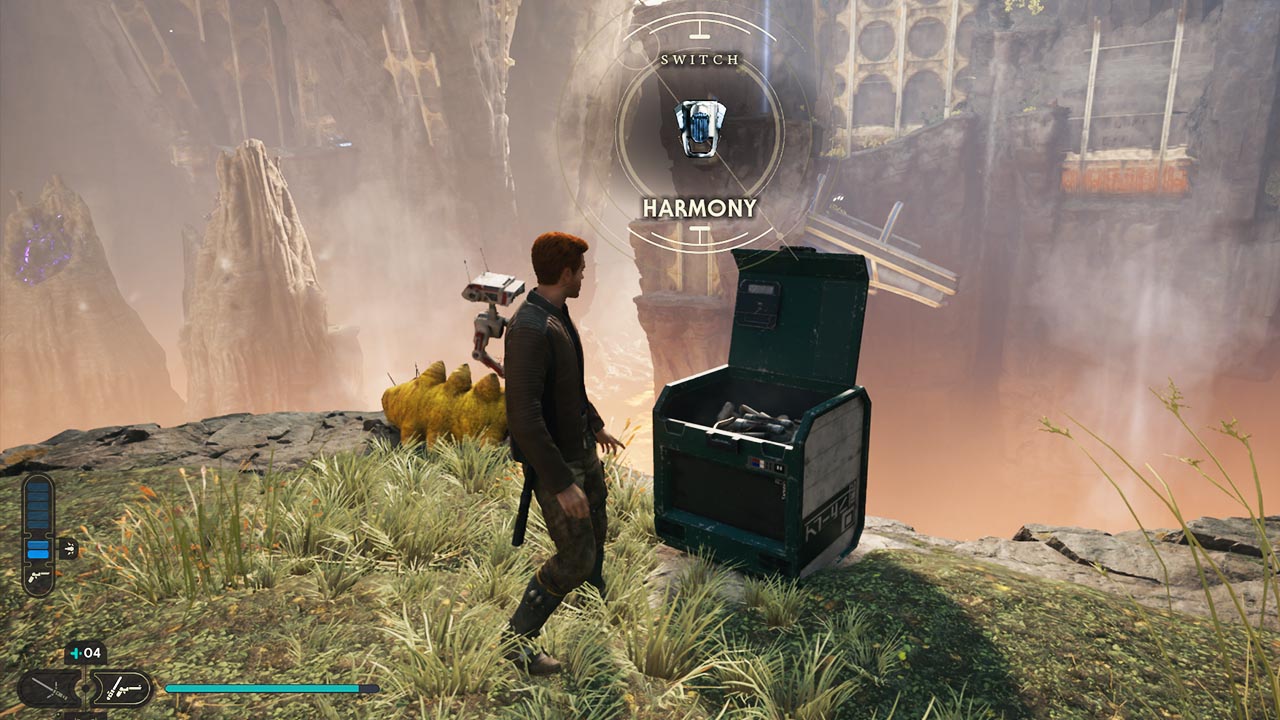
12. Always look for Health Essence
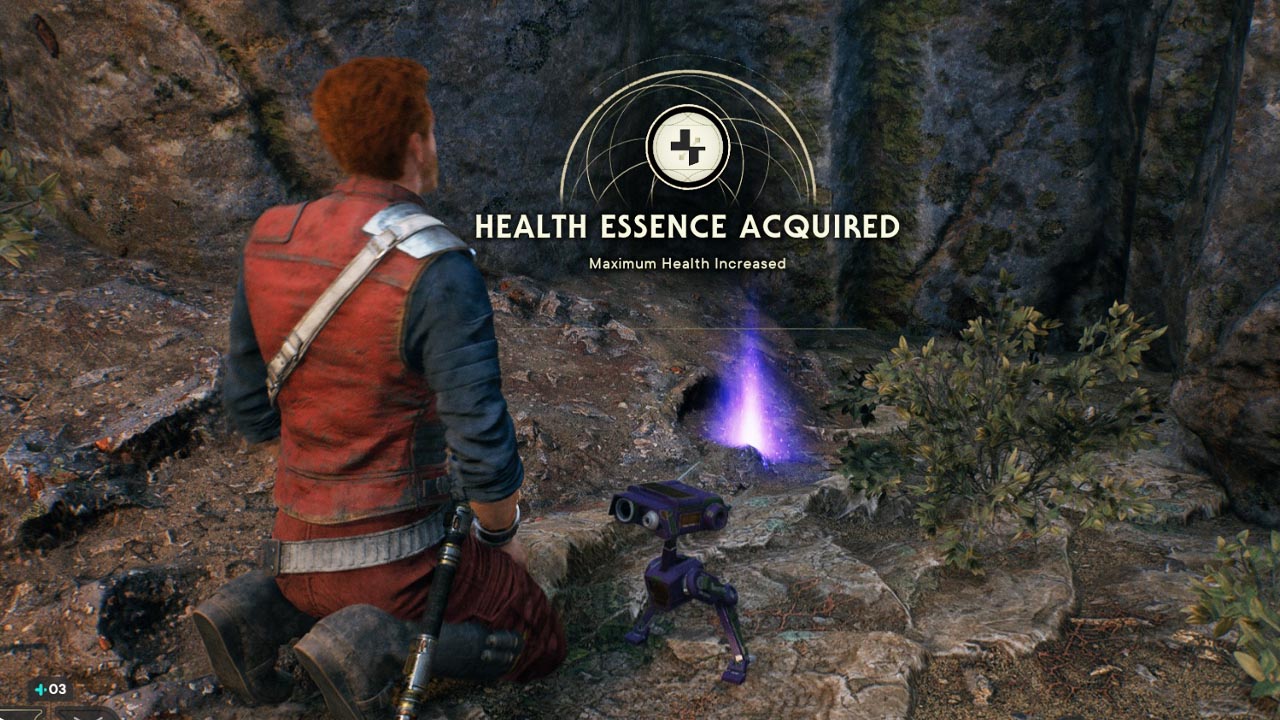
These purple particles are critical during your journey as Cal Kestis. They permanently increase your health or Force. Although it is a normal feature that we see in most other RPG-like games, it is great that Jedi: Survivor offers this formula as well.
It allows the player to be more daring while fighting against crowded enemies as well. And when you keep increasing your maximum health and Force, it also feels that the character becomes more experienced. That’s why it is crucial to look for these chests.
11. Increase your Health and Force first
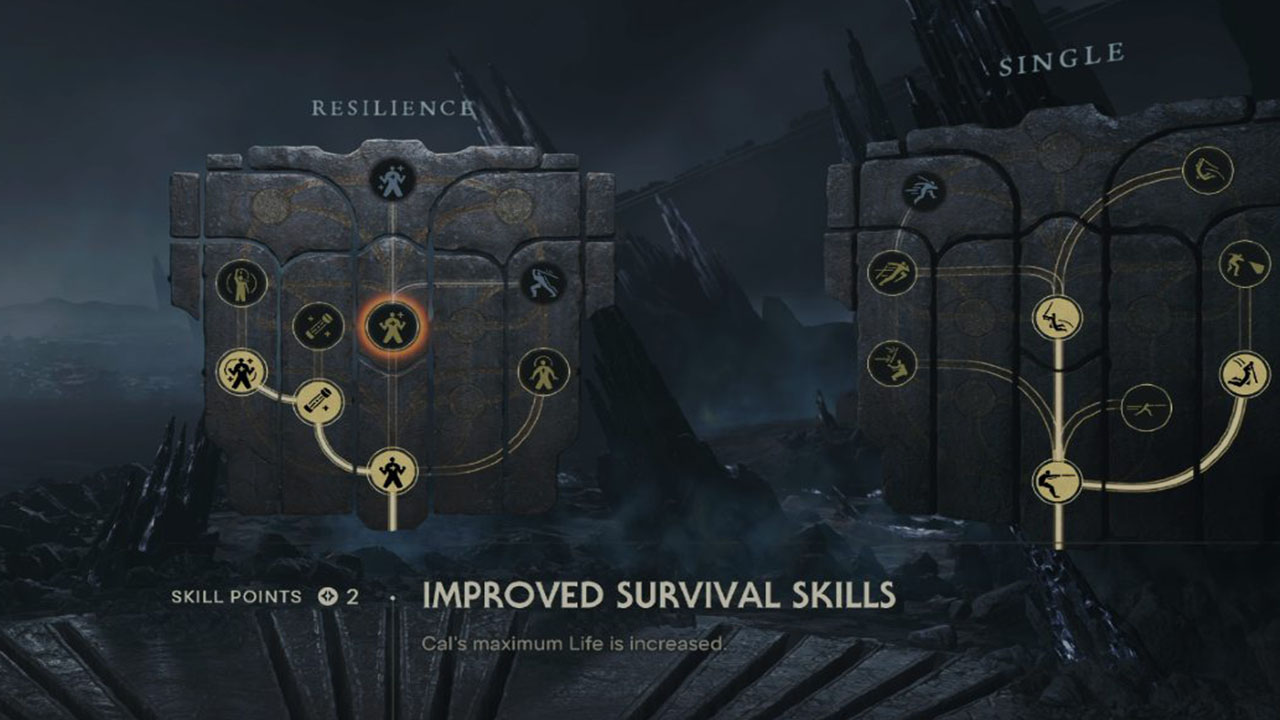
Remember tip 13? This is where those saved Skill Points come in really handy. That’s because some of the certain skills in your skill tree increase your maximum health and Force.
It is best to unlock them first as the game throws you into its semi-open worlds quite fast. When that happens, you wouldn’t want to be unprepared. That’s why we suggest going with these two before you teach Kestis some cool lightsaber tricks.
10. Try out different lightsaber stances
Unlike its predecessor, Jedi: Survivor comes with five lightsaber stances. With the addition of several new combat styles, the game’s combat system has truly gained some depth and complexity.
As you would have guessed, each lightsaber stance comes with its own advantage and disadvantage. And as an experienced Jedi, it is smart to make use of all of them on different occasions.
- Crossguard: Slow movement, solid damage
- Dual Wield: Fast movement, mediocre damage
- Single: Classic, ideal for everything
- Blaster: Great against boss fights, grants range, useful in many scenarios
- Double-bladed: Fast movement, solid damage, offers good defense
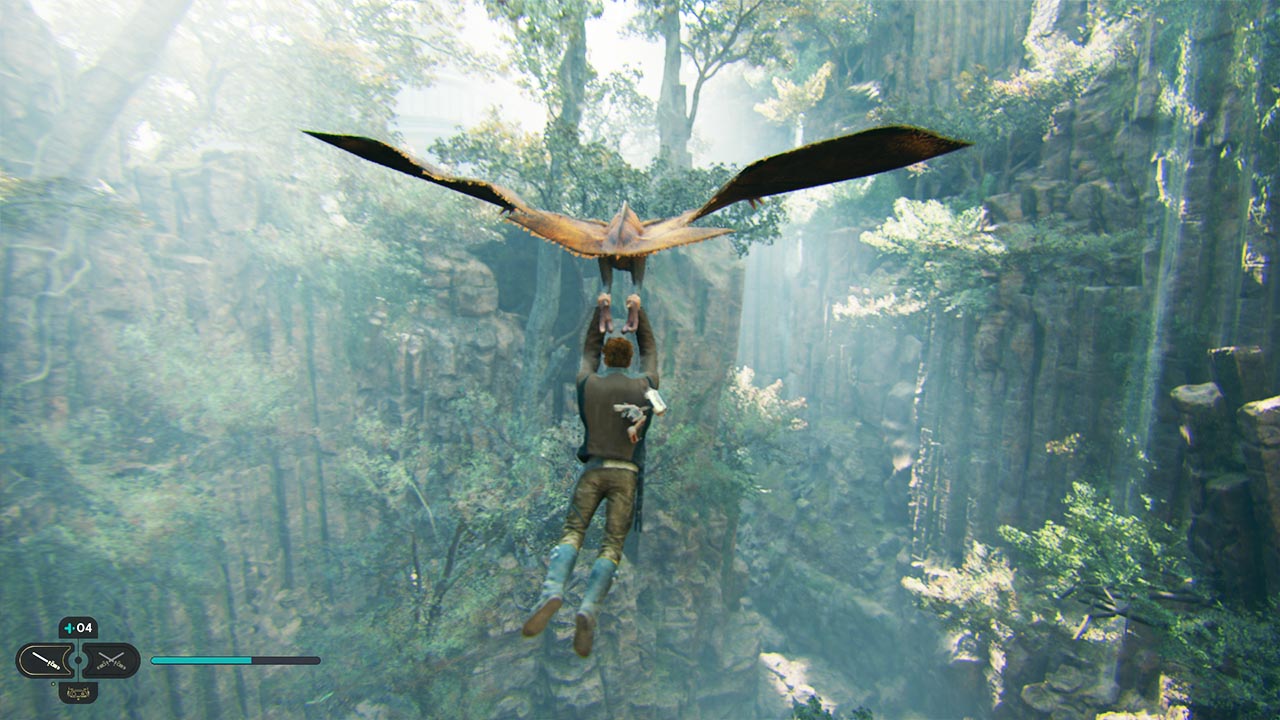
9. Explore ancient Jedi temples
Star Wars Jedi: Survivor follows the groundwork of its predecessor and improves almost every aspect. That includes the Metroidvania formula of semi-open-worlds and lots of explorable areas.
That brings us to the game’s ancient Jedi temples, which basically serve as dungeons with rewards like Perks and Skill Points.
8. Consider maxing Confusion
Confusion is another great trick to depend on while fighting against crowded enemies. It makes the enemies turn onto each other, granting you a few seconds to secure your position and recollect yourself.
And when you max out Confusion in Skill Tree, Jedi: Survivor turns into a rather funny game where the troopers constantly attack each other. For those who want to play with an unusual style, this is the way to go!
7. Always unlock shortcuts
Both Star Wars Jedi games follow the Metroidvania formula when it comes to level design. This means that the levels are actually intertwined areas where you need to overcome certain obstacles to explore more.
A certain area you come across might seem blocked at first. That’s when the game tells you to go out there and explore more. After a certain level of progression, the game rewards you with the ability or the item to unlock that area.
And Jedi: Survivor does this a ton of times due to the essence of its level design. That’s why we always recommend unlocking shortcuts and going the extra mile in exploration. That said, this only applies to those who enjoy finding cosmetics for Cal Kestis.
Unlike many other Metroidvania titles, the sequel nearly always rewards the players with cosmetic items for exploring the optional areas. Still, if cosmetics are for you, then this is a great tip.
6. Get your hands on Map Upgrade: Chests
This is the ultimate open-world upgrade in Star Wars Jedi: Survivor. That’s because it shows the location of all the chests on the map. This allows you to complete your cosmetics hunt for beards, outfits, BD1, and lightsaber parts.
Head to the Rambler’s Reach Outpost and look for this amazing and extremely useful update. After getting your hands on it, check out the map to see the location of all of the chests.
5. Try Blaster stance for boss fights
As we mentioned earlier, the Balster stance offers a solid advantage against the boss fights. It may not be useful in every boss encounter. But for many, it will help you break the poise of the boss.
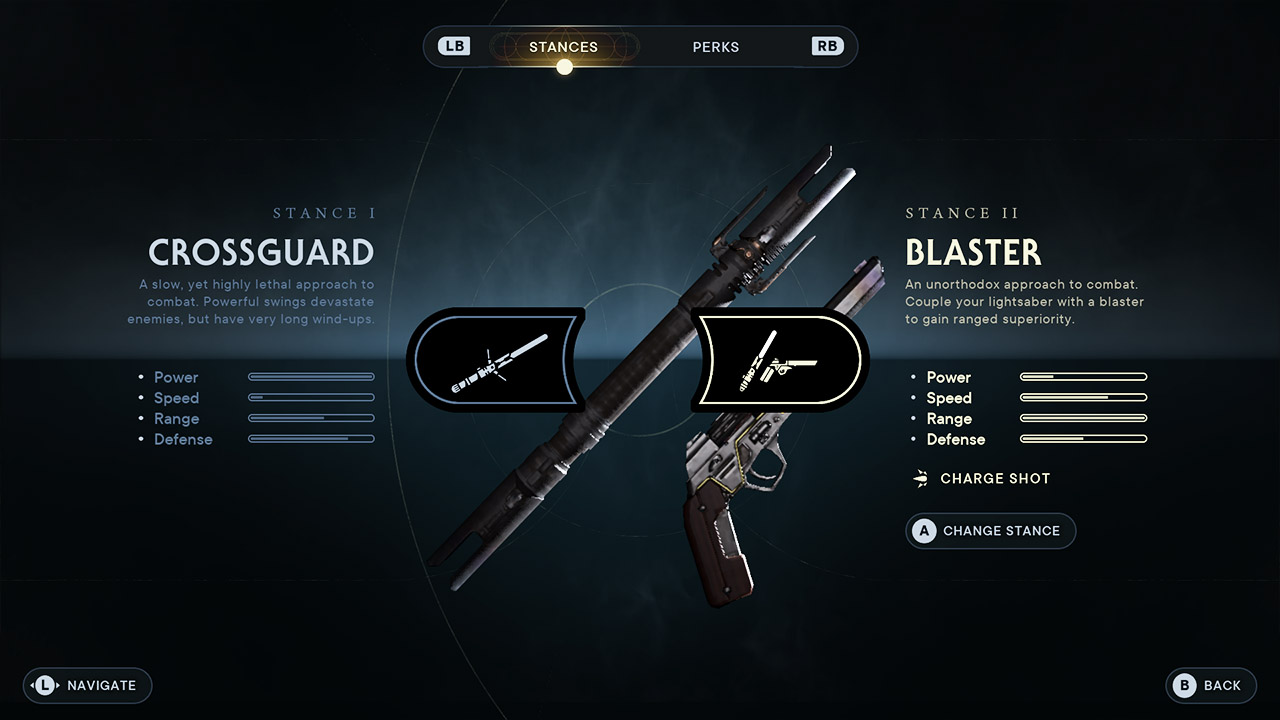
After equipping the Blaster stance and spam shotting the boss, follow it with some fast lightsaber attacks. It will also come in handy while fighting against a large group of enemies.
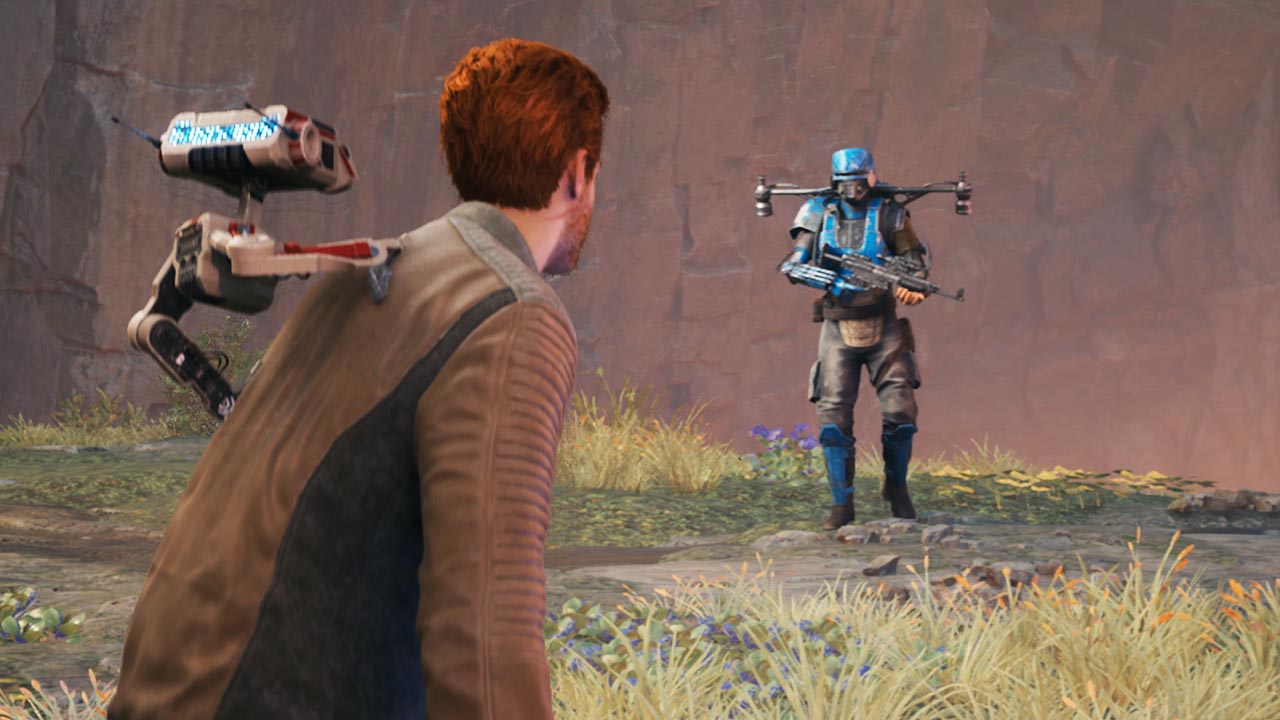
4. Do not forget about your Force Pull and Force Push
Star Wars Jedi: Survivor is all about Jedi combat. Even though it makes us miss Jedi Academy 2, it still tries to compensate with certain combat elements. And that’s where the Force Pull and Force Push enter the equation.
We realized that the more we played the game, the less we used Force Pull and Force Push. Make no mistake both of these combat tricks can be quite useful throughout the game. But despite their effectiveness, Jedi: Survivor does not put you in a situation where you really need them.
That’s why we strongly advise you to use Force Pull and Force Push, especially against Bedlam Raiders. They can be really difficult to beat!
3. Play the game with headphones
There is no doubt that this is one of the best Jedi: Survivor tips and tricks. That’s because Respawn Entertainment comes with a brilliant sound design. Its immersion when it comes to sound and audio deserves a ton of love. Moreover, it is also great to hear those Star Wars tunes in the cantina!
2. Force Push the explosives
Throughout your journey as Cal Kestis, you will encounter a wide variety of enemies including rocket Troopers and grenadier Droids.
When they throw grenades and explosives, you can push them away in their direction using the Force. This does not save you from the blast radius. But it also allows you to eliminate multiple enemies at once.
1. Play on Jedi Master difficulty
This might be an unusual tip for Jedi: Survivor. But we believe that playing on Jedi Master difficulty opens up a new dimension of gameplay. That’s because it makes the encounters a bit more difficult. This results in a challenging combat formula that requires more finesse.
This difficulty level doesn’t allow you to swing your sword around by spamming the attack button. Instead, Jedi Master difficulty will have you dodge, parry, and plan your next attack.
Here’s our list of the best tips and tricks for Star Wars Jedi: Survivor. Whether you follow the tips above or not, we assure you that it is amazing to take the role of Cal Kestis once again. Good luck during your endeavors in the galaxy far away!